Information on the Guitar

What are short scale guitars and who are they for?

I was in my early 20s, and I was about to begin making my first guitar for several years. I was excited, but at that time, the prospect of making a guitar also seemed like a monumental challenge. Having heard that there was a guitar concert happening in a nearby village, I set off on a winter's evening by train to a village called Stewartby, in search of some inspiration. I definitely found it. The guitarist was Valerie Hartzell. As I listened to her play, I knew I was hearing the full potential of the classical guitar. I could picture what I wanted my own guitars to sound like. It was a game changing concert for me. Unbeknownst to me at the time, it was also my first encounter with a short scale guitar. 

Here Valerie plays her Greg Byers guitar. It can be seen here that a 630mm guitar doesn’t seem noticeably smaller than a 650mm guitar.

Valerie played a 630mm guitar built by an American guitar maker called Greg Byers. Usually guitars have a scale length of 650mm - that’s 650mm from the nut to the saddle - anything shorter than that is considered ‘short-scale’. Since 650 is considered full sized, it may not occur to many guitarists that other options may be more suitable for them. If you consider the wide range of heights and hand sizes amongst men, women and children, it really doesn’t make sense that everyone should use the same size guitar. And as shown by Valerie’s performance, which has inspired me throughout my whole career, it is more than possible to make a real impact with a short scale guitar. 


How many classical guitar sizes are there?

Any scale length is technically possible. 650, as I mentioned, is full sized. 630 is a common length for a short scale guitar, the difference is noticeable but still subtle. A scale length of 610, or more precisely, 613.5, is the length of a full size guitar with a capo at the first fret. In case you are reading this in 2024, my next two guitars, in early Spring, will have a scale length of around 613.5mm, so if you are curious to try such an instrument, don’t hesitate to get in touch. 

Smaller instruments than that are of course possible. I recently watched a guitar orchestra performance; as well as normal guitars, they had massive guitars with their strings tuned an octave lower, and smaller guitars with their strings tuned higher. On the larger side of things, 660mm instruments aren’t uncommon. The largest I’ve tried was 720mm, details of which you can find here: https://www.michaeledgeworthguitars.com/en/blog/a-marvellous-and-historic-instrument

Guitar sizes are particularly confusing because different people use different units of measurement. Here’s a table to simplify things a bit, with the size, an then the corresponding scale length in inches and millimetres:

4/4 (Full size) -650mm - 26”

3/4 - 580mm - 22.8”

1/2 - 535mm - 21”

1/4 - 480mm - 19”

On the design of smaller instruments

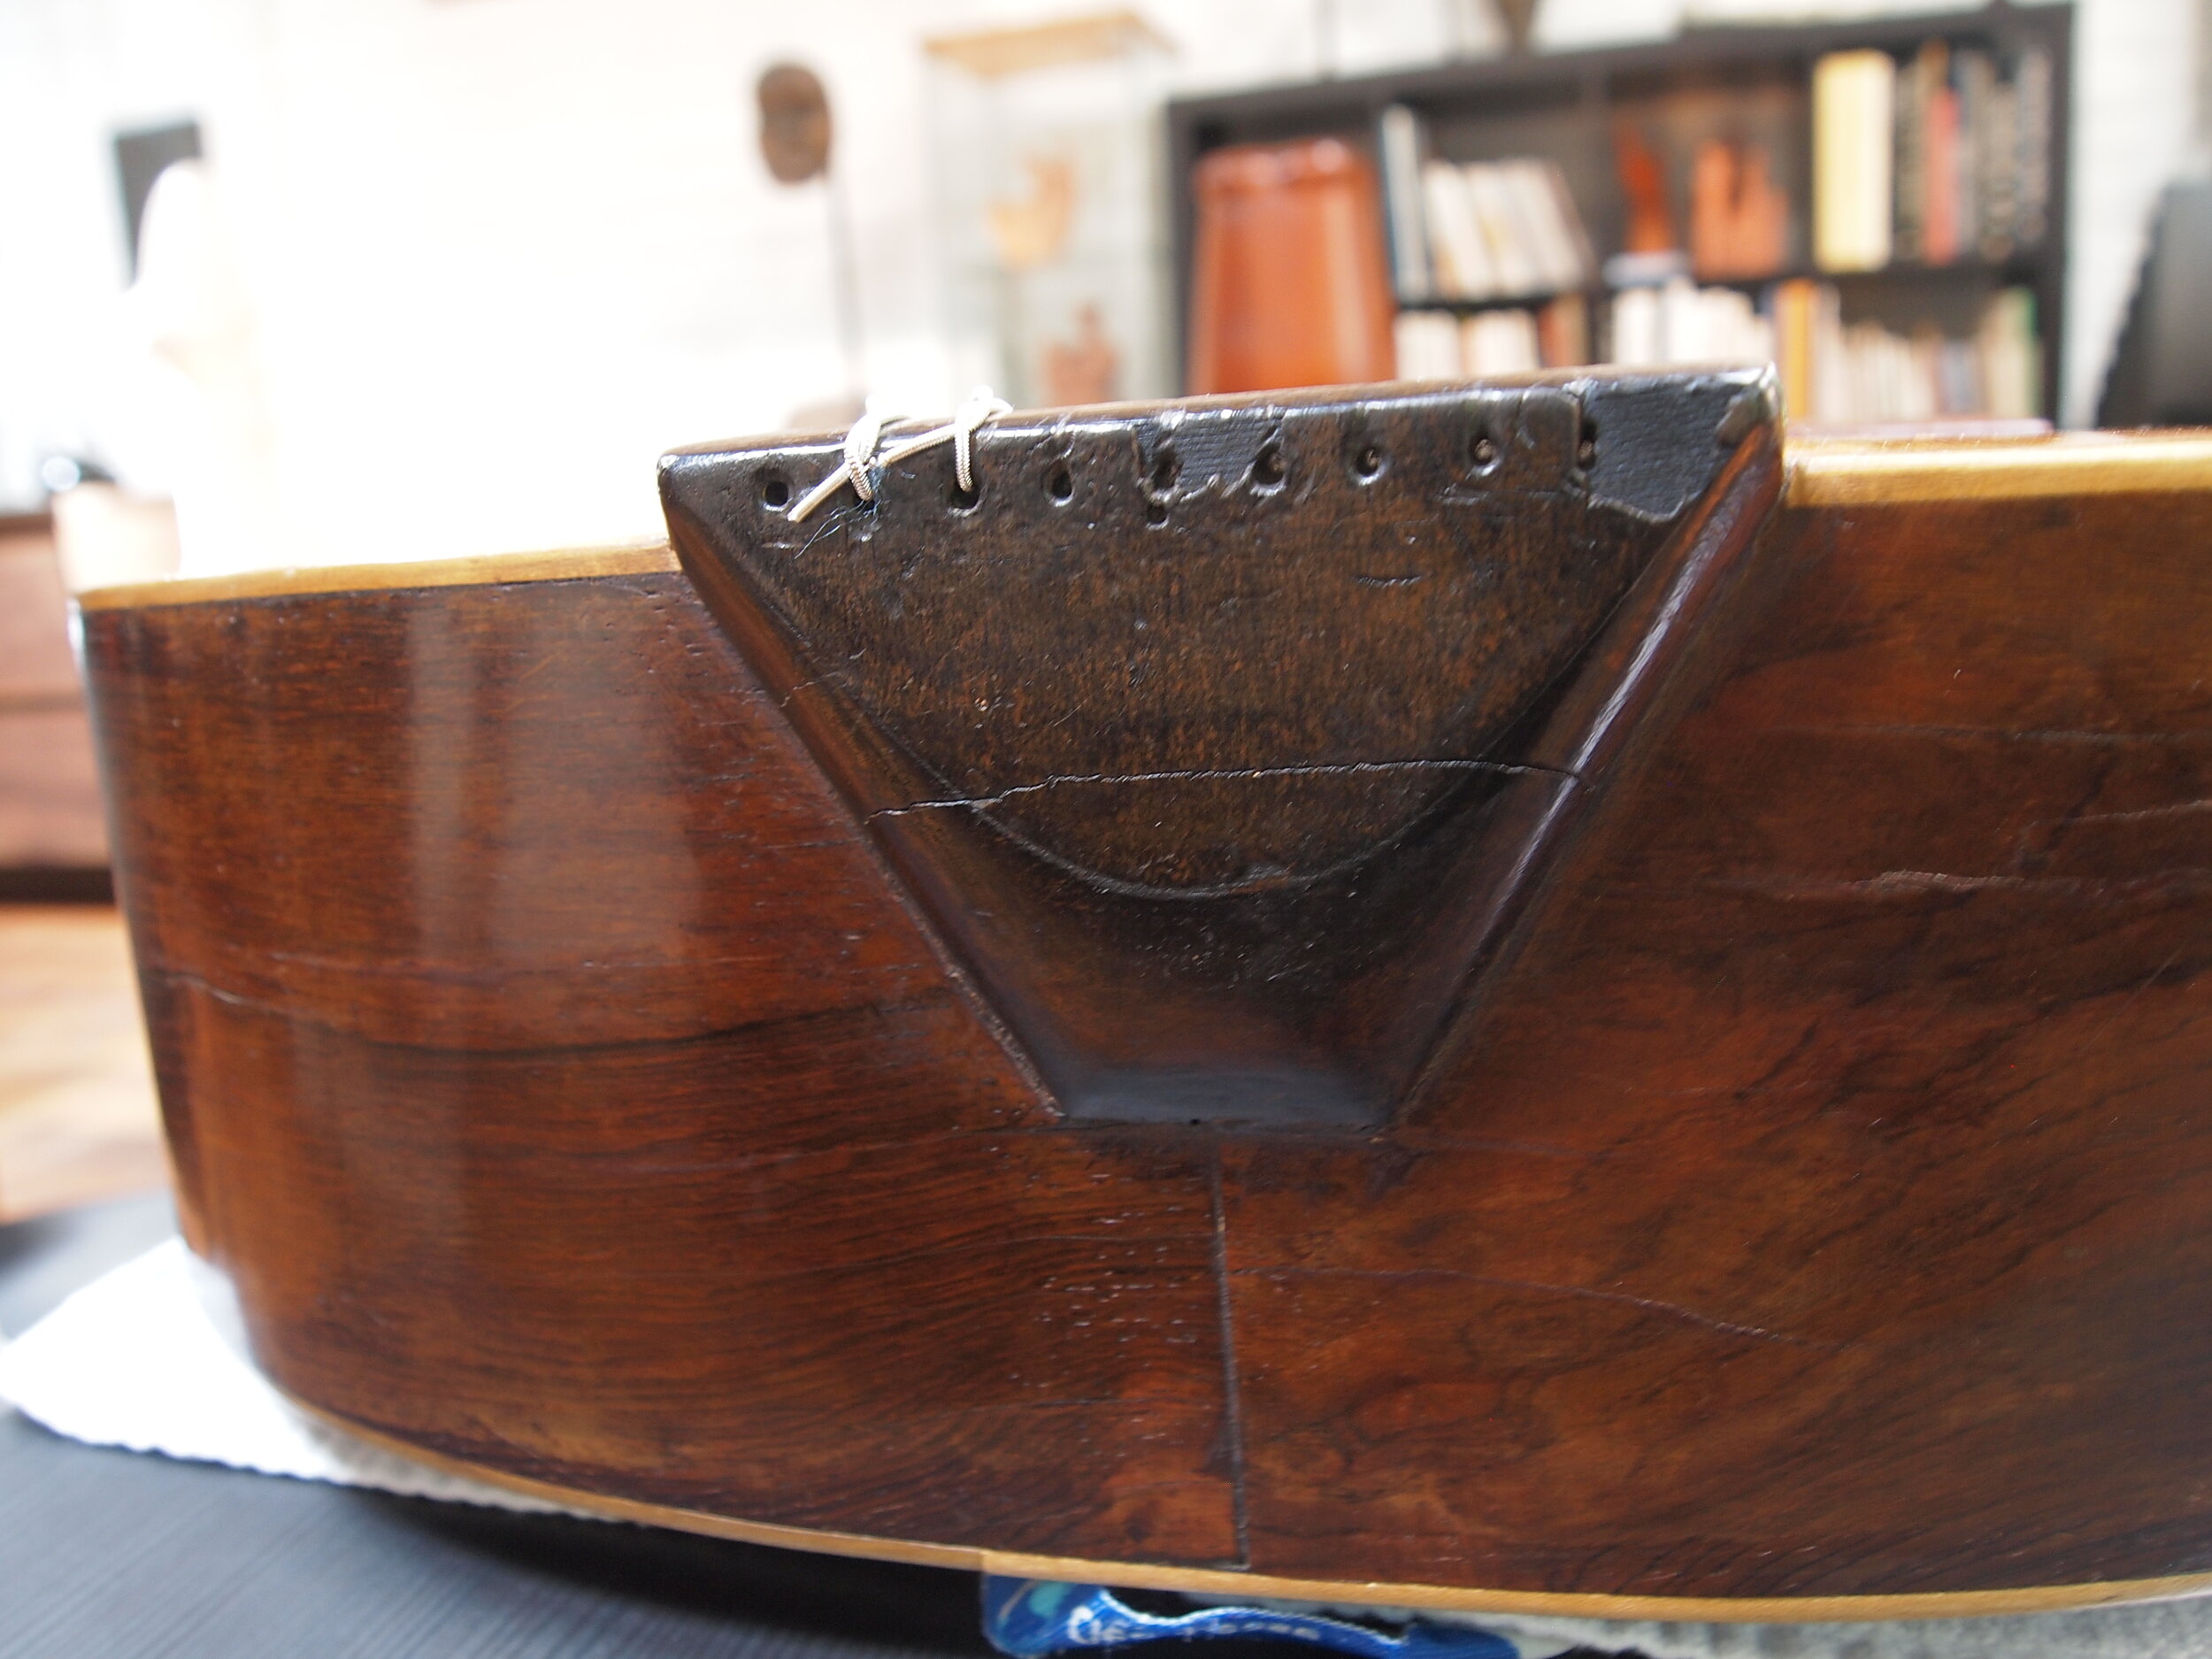
There are some difficulties for guitar makers when building a shorter or longer scale instrument; to a degree the whole instrument has to be slightly redesigned. For example, if the scale length is shorter, the guitar’s bridge needs to be closer to the soundhole. That can look strange if the guitar maker isn’t careful. To avoid that looking weird, the guitar’s body needs to be made slightly smaller. Another such adjustment is the bracing. A smaller guitar will need lighter bracing, and higher tension strings. 

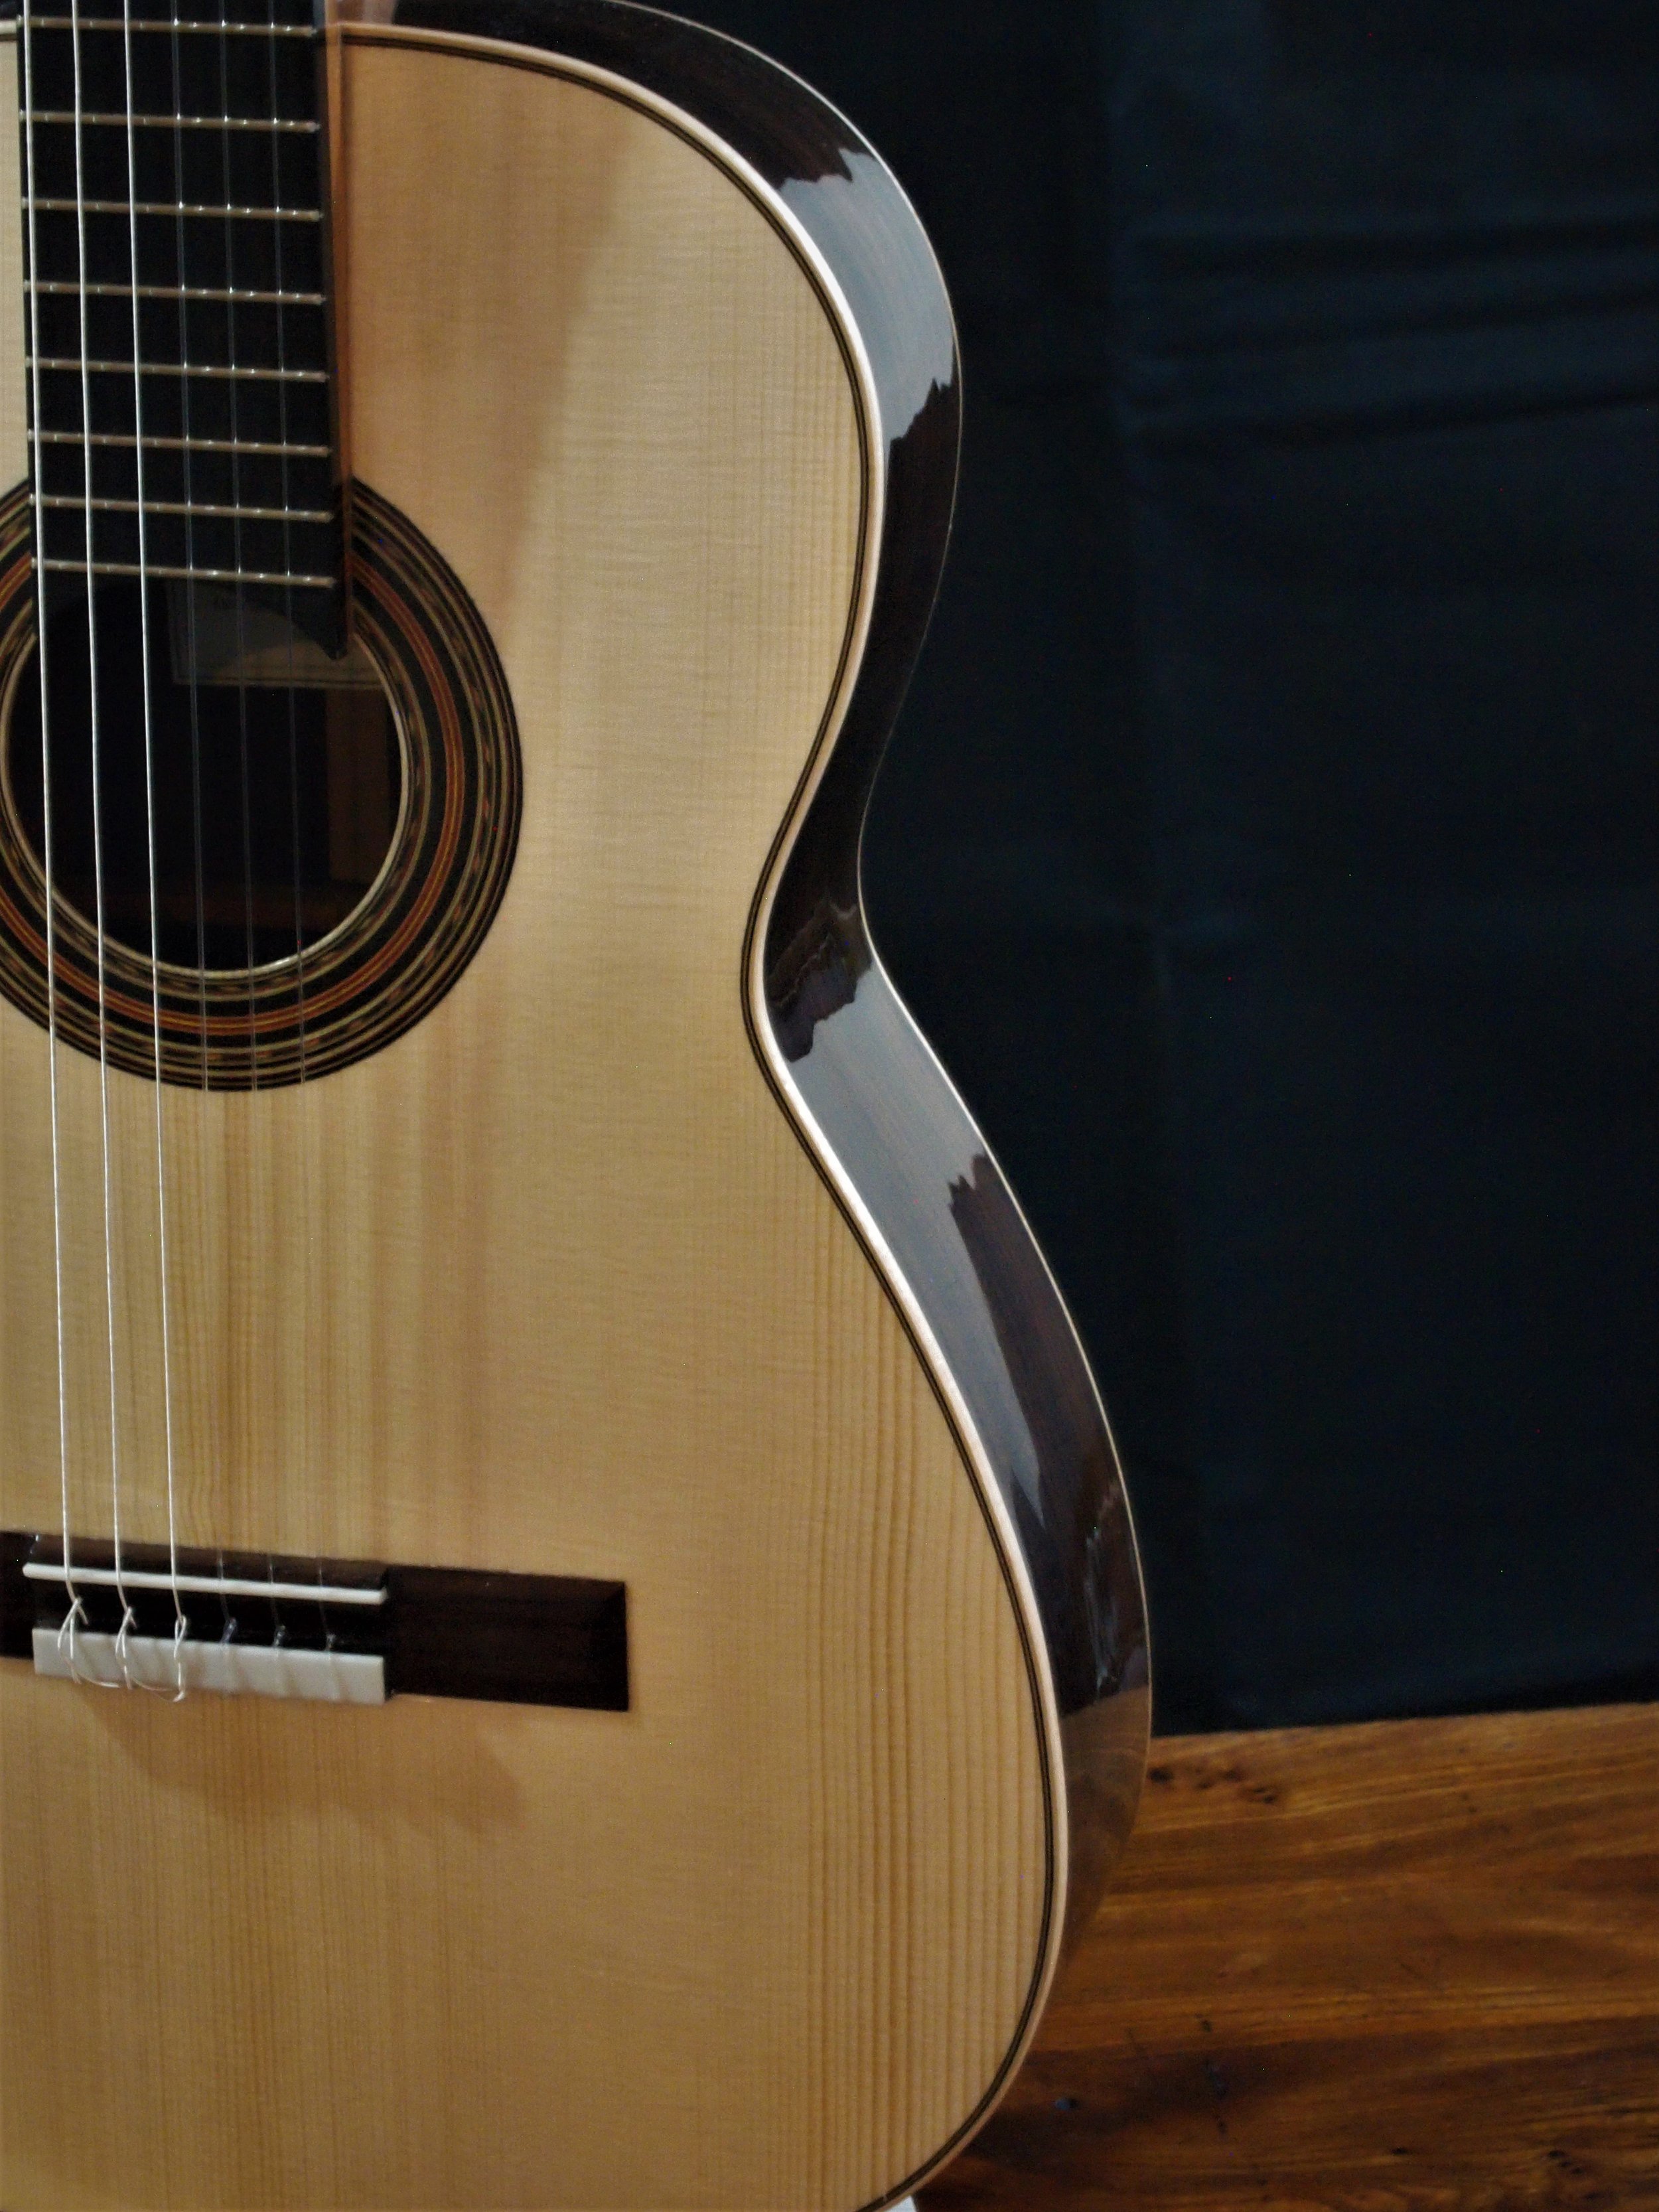
One thing that tends to stay the same on a smaller guitar is the width of the fingerboard. On a regular guitar, the fingerboard is 52mm wide at the nut and 62mm at the 12th fret. If the fingerboard is made much narrower than this, the instrument quickly starts to become difficult to play, as the strings are simply too close together. 

I think a huge advantage of handcrafted guitars is that it’s possible to find the ideal instrument for you, something that not only sounds amazing, but fits you like a glove. The scale length of an instrument is definitely a part of that and shouldn’t be overlooked. A skilled guitar maker would be able to make the small adjustments in bracing and design to make a smaller instrument sing, despite the difference in size and string tension. Just as Greg Byers did with Valerie’s instrument. I spoke to Valerie later about her guitar. I remember it as being really powerful! She said that Greg was displaying it at a guitar festival in the US, where she tried it and decided it was the instrument for her. 


Torres, considered the father of the modern classical guitar as we know it, built many smaller instruments. The same for earlier makers, such as Lacote and Panormo. 


What about guitars for children? What size classical/flamenco guitar should I buy for my child?

It can be difficult to find guitars for young guitarists that are made with the same care as full sized instruments. However, with the right instrument, any young guitarist will be far more enthusiastic to pick up the instrument, and avoid any bad habits caused by an unsuitable guitar. 


If possible, the best way to find the right size would be to try out several sizes and see what’s most comfortable for them. In some cases, it’s possible for quite small guitarists to use a 650 or 630mm size instrument. Although the size of a guitar is measured by its ‘scale length’ (the length of the string from nut to saddle), another important factor is the size of the guitar’s body. Too big or small, or too deep, and the guitar can feel awkward and cumbersome to play. 

There are some videos of a young Ana Vidovic playing a full sized guitar when she was very young, and the same with a young Xuefei Yang. On the other hand, I believe Valerie Hartzell told me that she visited the Ramirez workshop when she was a child, with her parents, and they bought a small Ramirez guitar, which she used throughout her childhood.

Classical guitars for adults are often finished with French polish. With kids, it might be a bad idea to use something so delicate, so a lacquer finish would almost certainly be the answer here. 

I remember being about 8 and beginning to learn the violin, and I remember thinking how brilliant the violin itself seemed to me. I had one on loan from my school. It and it’s bow were so beautiful, I really wanted to learn how to play it! I witnessed the same with my two sisters, as they learned the piano and saxophone respectively. The glistening golden shine of a saxophone… it’s very alluring. I think for the same reason, it’s worth getting a guitar of reasonable quality for a young guitarist; something they are drawn to play. If they do grow out of it, they might still keep it forever. I think that Valerie, for example, still has her Ramirez guitar from childhood.

What are double-top guitars? What are lattice guitars?

Guitars are fascinating instruments! Their design is constantly being experimented upon and improved, in the search for better tone, volume and projection. It is fascinating to track the guitar all the way from the baroque period, until today. Guitarists have always been eager for improvements, and guitar makers ever willing to innovate. Over the past 30 years, two innovations in particular have taken the classical guitar world by storm: the double top guitar and the lattice guitar. What are they? How, why and from where did they appear? What do they sound like? 

The guitar before lattice and double top bracing:

You are probably aware that different guitar makers specialise in using different bracing patterns. Many makers develop their own designs, and it’s these different designs that give guitars their unique sounds. The narrow lengths of wood we call ‘bracing’ support the interior of a guitar's soundboard, keeping the guitar from caving in on itself under the pull of the strings. In balance with this structural purpose, the bracing is also designed not to be so stiff or heavy as to inhibit the vibration of the soundboard.


Throughout the 20th century guitar makers mostly used what we now call ‘traditional bracing’. This kind of bracing was pioneered in the late 19th century by a maker called Antonio Torres. A traditionally braced guitar in the Torres style generally has a soundboard with a thickness between 1.8mm and 2.5mm, the interior of which has 7 struts made of spruce laid out in the shape of a fan. 20th century makers built on this design, finding their own unique sounds within this concept. For example, French maker Robert Bouchet added a brace going across the soundboard under the bridge, and reduced the number of fan braces to five. A Spanish guitar builder called Ignacio Fleta started using cedar, as opposed to spruce, as his material of choice for the soundboard, and he increased the number of fan braces to nine. Within this general framework - a solid spruce or cedar soundboard with fan braces - many great guitars have been built and continue to be built. This fan braced instrument in all its variations is what we think of as the traditional classical guitar.


The lattice braced guitar:

The basic idea of lattice bracing had been around for a while. Using bracing across the guitar soundboard was not a new idea, though the rationale behind its use had been different. Lattice bracing not only has strutting along the grain of the soundboard, as in fan bracing, but also has struts across the grain of the soundboard. The bracing forms a grid-like trellis structure, which is stronger and stiffer than regular fan bracing. Due to the strength of the bracing, the thickness of the soundboard can be made much thinner, between 1mm and 1.5mm and in theory the result is a louder guitar and with a different sound quality. 

Often the term ‘lattice guitar’ is associated not only with the bracing, but with the fact that many lattice guitars also have very thick back and sides, and are generally very heavy. However, not all lattice braced guitars are like that; this is just one way that they can be constructed. Guitar makers are exploring many possibilities of lattice bracing; some makers use carbon fibre to reinforce the lattice structure to make it really stiff; some makers conversely only use wood bracing; some lattice guitars are constructed with thin back/sides, others with thick. The very heavily built lattice guitars are associated with the Australian school of guitar building and particularly with the luthier Greg Smallman, who was one of the pioneers of the lattice guitar.


The lattice guitar began to rise to prominence and be accepted in the 80s. It seems that Australian guitar builder Greg Smallman, Japanese builder Kohno and English maker Paul Fischer all separately came up with lattice based designs at that time, and probably other makers did too. I like the story of Greg Smallman developing his guitar; if I recall correctly, he would doggedly try to get feedback on his guitars from players (particularly collaborating with very famous guitarist John Williams), trying to understand what guitar players wanted and needed from their guitars, and adjusting the design of his guitars in accordance. What he eventually came up with was something quite far from the traditional guitar. In England, Paul Fischer collaborated with a scientist called Bernard Richardson; together they experimented on designing a bracing pattern, for a guitar with increased projection. The result was Paul’s Taut model. Technically, both Paul and Greg’s guitar models have lattice bracing, but they are very different guitars. Well known and fantastic players such as John Williams (on a Smallman guitar) Xuefei Yang (Smallman and Fischer), Jason Vieaux (Fischer), play using lattice guitars, showing that this type of construction must have some merit.


The double top guitar:

Many luthiers over the centuries have searched for some innovation to make a drastic improvement to the guitar. But I don’t think any such innovation has been quite so successful at making such a huge impact on the guitar world, as the double-top guitar.

The construction of the double-top is clever and modern. “Double-top” refers to the soundboard, which, rather than being one solid piece of wood, is actually made up of three layers: two very thin layers of wood - hence ‘double-top’ - and sandwiched between them, a layer of a man-made material called nomex. Nomex has a honeycomb structure, so there’s a lot of empty space. It feels a bit like paper, quite light and fragile. However, once the nomex is glued up between the two layers of wood, the whole structure is very stiff and strong. Each layer of wood can be around 0.3-0.6mm thick! Extremely thin. The whole rationale behind double tops is to decrease the overall weight of the soundboard, and the resulting sound is supposed to be much louder. 

There are two guitar makers associated with the creation of double top guitars. They are Mathias Dammann and Gernot Wagner. I believe it was Dammann, in his search to build his ideal guitar - and dissatisfied with attempts so far - who initially experimented with double top ideas, in the late 80s/early 90s when he was in his early 30s. I believe initial attempts involved using strips of wood as the middle layer of the double top, but he soon discovered the material nomex, and was able to see its potential for guitar building. I do admire the ingenuity of the double top invention, particularly as nomex was initially developed for use in fields completely unrelated to guitar making

While Dammann was building the first double tops, fellow German luthier Gernot Wagner had reached similar conclusions while trying to improve the sound of his guitars. He had realised that when he used the lightest material for his soundboards, he came closer to achieving the sound he wanted. He would therefore immediately see the merit in an idea that reduces the weight of the soundboard considerably. Somehow, the two luthiers met and exchanged ideas, around the time when Dammann was building his first double tops. I think such a collaboration is quite enviable! And from it has emerged the double top classical guitar that we know today. As with lattice guitars, and traditional guitars, there is a spectrum of double-top guitars, and many different construction styles. They tend to sound differently to traditional guitars, but each double top builder will have their own unique design and sound.


So, double top, traditional or lattice?

Usually, it’s best to simply judge every guitar on its sound, playability and aesthetic, and not worry initially about what the interior construction is. There are many stereotypes regarding materials and construction methods, such as: spruce sounding more articulate; cedar’s tone being darker and louder; double tops and lattice being louder but with a less pleasing tone. It’s important to be aware of the different construction methods out there, but I would  recommend disregarding such preconceptions and try to judge each unique guitar impartially. Also, you will have different priorities, depending on if you’re a professional constantly touring musician, a student, a teacher, or someone who likes to play guitar in their free time. There are professional guitarists playing all different types of construction, so there is no clear consensus as to what is better; it is really down to personal taste.

So far, I have built mostly traditionally braced instruments. There is a huge gamut of tones, colours, loudness levels etc to be found, even only among traditional guitars. It is in fact extraordinary to hear the wide range of possibilities. I have experienced this when attending guitar making competitions - where there is the opportunity to hear many guitars in comparison with each other - and when visiting classical guitar dealers, where of course you can try many guitars. I have built one experimental double top guitar, which I wasn’t at all happy with actually, but it was just an experiment; in the end it was a loud guitar but with a voice that barked rather than sung. I would say that knowing how to build a good double top, or lattice, is its own art, as valid as building traditional guitars. I think it’s fantastic that lattice and double tops exist; I think it broadens the possibilities of the classical guitar, and increases the chances of finding the ideal sound for you.

I was able to meet Gernot Wagner, one of the first double top makers, while visiting London Guitar Studio one December. Since, Gernot was scheduled to arrive soon, the owners said I should stay and get get some feedback on a guitar I’d built. Gernot, like many luthiers, is extremely open about his methods, for the sake of furthering the craft. I had the fortune to receive from him what he called a free lecture. He told me in particular about his general building principles which eventually led him to building double-top guitars. When I was studying at college, I attended a lecture by guitar maker Paul Fischer. He developed a kind of bracing, not dissimilar to lattice, that he called taut bracing. It takes a certain curiosity and bravery to really push the limits in guitar making, and a lot of talent to do so successfully. I do admire the lattice and double-top guitars of the world. I don’t know whether my quest for my perfect sound will lead me down the double-top/lattice path in the long run. Having said that, I am building my first lattice guitar now, in collaboration with a guitar maker called Rik Middleton. I look forward to seeing how it sounds. 

Excitingly, many luthiers who are considered quite influential today, such as Smallman, Wagner, Dammann, Friedrich etc, started to settle upon their signature sound around their early 30s. I’m approaching that age! I’m at a time in my career, where worries about craftsmanship are getting smaller as skill increases and my perfectionism regarding my guitars is more satisfied. That leaves the sound as the main focal point of my attention, and I look forward to seeing what sound-paths I tread in the coming years.

What is a handcrafted classical guitar and who are they for?

As far as classical guitars go, handmade reigns supreme, as shown by the fact that just about every professional plays a handmade guitar. This is different to the steel-string or electric guitar world, where factories and big-brands are king. For me and many others, it is one of the most charming things about the classical guitar. But for those newer to the classical guitar, or perhaps asking themselves questions such as, “Am I good enough for a handmade guitar?”, this article is for you.

Looking inside the soundhole of a guitar, you see a label and on that label a name, the name of a man or woman who dedicated perhaps much of their life towards honing the sound of their instruments, and diligently refining their unique aesthetics. That is at least how I felt as a teenager, peering into the soundhole of my grandpa’s old, quite cracked but well loved Harald Petersen guitar; I felt I was holding a small piece of an artist’s work. A piece of art I could hold, play, look at, listen to - experiencing it in many different ways.


The artistry and craft of a classical guitar maker lies not only in the visual aspect, though each maker decorates their guitar uniquely to distinguish their instruments from others, and display their technical ability. It lies not only in the functional aspect - for example how comfortably the neck is shaped - or in the tactile aspect, such as which polish has been used and how well. Many would say the most important aspect is the sound, and partly I would agree; each guitar maker chases their individual idea of the perfect sound, refining their unique sound throughout their career. But I would really say that the best guitars bring all these aspects together and that this is the aim of the handmade guitar. But there is also an additional element; it would be better to say that the aim is to bring all these elements together, in a way best for that particular customer, as the maker and guitarist can correspond during the building process or perhaps just know each other anyway.


This aim is for the most part quite beyond classical guitars built in a factory. Part of the reason is that every single piece of wood is different and needs to be treated differently. The properties of each piece of wood can vary from piece to pieces, even when cut from the same tree. This is particularly true of wood for the soundboard on a classical guitar, which influences the sound most of all. Factories, due to the demands of mass-production, build every instrument exactly the same, despite variations in wood. Not only that but the priorities of factories don’t necessarily correspond with what is best for a great classical guitar. Priorities such as needing to limit returns and repairs, therefore building for robust instruments, and prioritising speed, so finishes like French polish are usually out of the question. This situation is unique to classical guitars, mostly arising from the fact that it’s a difficult job to make a classical guitar sound really good. It’s much easier to build a bad sounding classical than a bad sounding steel-string. Conversely, the priorities of factories and players of steel-string/electric guitars, usually more or less align, therefore factory guitars remain popular with those players.


Classical players choose their guitar maker by a number of factors. Perhaps the guitarist is initially drawn in by the aesthetic style and craftsmanship of a particular maker, and the aesthetic details. Maybe a maker has a particularly brilliant signature sound. Perhaps a guitarist has gotten to know a maker and likes his ideas. 


Let’s zoom in on some of these different details. Firstly, the craftsmanship. Often, classical guitar makers, apart from putting their name on the label inside the soundhole, will distinguish their guitars by decorating them in a recognizable manner/style. There is limited scope to do this, since the guitar is a classical instrument and not much in the design can be changed. However, if you look at the headstock, here the maker distinguishes himself with a unique design. It has to be unique, something he has thought up himself; it is actually considered poor form to copy someone else's design here. Therefore, you can usually recognise a guitar maker by their headstock design. There is also the rosette, the pattern around the soundhole. There are guitar makers who make every rosette unique and different; others buy the rosette; but there are some that create a distinctive design here and use the same design on each guitar. Growing up, I always loved the Paul Fischer rosette (a guitar maker from Oxford, UK. A maker with a distinctive rosette today is Philip Woodfield. I personally like it when you can distinguish a guitar’s maker by the rosette design. It somehow ties together their whole body of work. Some makers also decorate the tie block on the bridge with a pattern corresponding with or complimenting the rosette. If you look at guitars throughout the careers of many makers, often at first the design varies, then as they mature they begin to build essentially the same instrument design over and over, as they fine tune their ideal design.


Aside from the aesthetic design choices, there is also the level of workmanship. I think the best makers are very exacting in their workmanship. The workmanship represents the guitar maker’s pride in his work. I think with the best guitars, the closer you look, the better it gets; rather than the opposite with guitars with poor workmanship.

Secondly, the sound. There is such variety in sound with classical guitars, it is a truly brilliant situation! A small anecdote: years ago, I attended a violin making competition in Malta. Some of the judges lamented the fact that all the violins there essentially sounded the same; this is because violin players and makers idolise Stradivarius and Gueneri violins, and achieving that same sound has become an art. The situation is so different with guitars. There are fan braced guitars of many different varieties; fan bracing is what we consider traditional bracing. Newer innovations are common such as double top guitars and lattice braced guitars, and such designs are ever being refined. Older types of bracing exist too, such as ladder bracing, from the 18th and 19th century. Within each type of bracing, many sound-worlds exist. Some of these sound-worlds become associated with particular guitar makers. For example, a guitar maker who lived in 20th century Paris named Robert Bouchet, inspired by a 19th century guitar he had, began to brace his instruments with a cross brace under the bridge, giving his guitars a distinctive sound which became very famous. That type of cross brace is now known as a ‘Bouchet bar’. 


The sound is the real meat of the matter when it comes to the classical guitar. Personally, I think a classical guitar maker will have long mastered the craftsmanship aspect of guitar making before he masters the sound. Often when guitarists try out a guitar, the sound is really the thing they pay attention to. A louder guitar, sweeter, more colourful, bassier, responsive, dry, crisp. A guitar maker plots his course in this deep forest of sounds. The guitarist must go into that forest too, and in there find the guitar maker most suited to him. 


Finally there is the aspect of collaboration between maker and guitarist. Although often the best results can be achieved when a guitar maker is left to build his signature design, sometimes two people can come together and create something better than one person could ever do alone; two people inspiring each other

With that background covered about what a handmade classical guitar is, we can answer the question about who they are for. The answer is that they are for many groups of people. There are musicians who like to enrich their lives by playing the classical guitar as a hobby; there are professional touring musicians, students, teachers. For some players the handmade guitar is a luxury, a feast for the senses, and in a way I actually think it is this group of players who most appreciate the classical guitar maker's art. For professional classical guitarists and serious students, it is essential for them to have a guitar that doesn’t limit them. Just as long ago a warrior might prefer to go into battle with a well crafted and sharpened sword, the professional musician needs a serious instrument too. For them, the handcrafted guitar is not just a luxury, but an essential tool. Once a player has discovered the vast range of sounds possible with handmade guitars, it is difficult to return to worse instruments. As a player progresses and grows as a musician, they might notice limitations in their instruments that they weren’t able to perceive initially. I would think when that happens that they are ready for something better. A guitar can seem limiting for any number of reasons, soundwise, visually, or due to functional issues such as neck shape or intonation. 


This blog post has me thinking of many of the guitar makers through the ages whose different sounds and designs I admire greatly. I think if we were to ask them, who their guitars are suitable for, they would agree that if you will play the guitar, enjoy it and take care of it, then you are ready for a handmade guitar.


Flamenco guitars and music. The differences between classical and flamenco guitars

I remember a time when I had never heard of flamenco music, and didn’t know that flamenco guitars existed. This all changed when I began to build guitars; I started to occasionally travel to Spain, and began to seek out different types of guitar music. I think that it’s quite a normal thing for anyone outside of Spain, to not know much about flamenco music or guitars. Therefore, I thought it would be worth writing this post about it, as there is a huge catalogue of excellent flamenco guitar music, and also some beautiful flamenco guitars, which as I will explain, can also be used for classical music.

Differences between classical and flamenco guitars:

A big differences between flamenco and classical guitars are firstly the woods used. Traditionally, cypress is used for the back and sides. It’s a very light wood and gives a different sound to rosewood. Cypress was initially used because flamenco guitars are folk instruments, and cypress was cheap and easily available in Spain. Nowadays it's not cheap, but it’s still used because it can give that distinctive flamenco sound. Having said that, you can find flamenco guitars in a variety of woods. Mostly cypress and then rosewood. My most recent flamenco has flamed maple.

Another difference is that flamenco guitars have their strings lower. The action is lower over the fretboard and the strings are also lower at the bridge. Flamenco players need the lower string height to execute particular flamenco techniques.  I aim for around 2.5/3mm at the 12th fret, whereas a classical guitar has an action of 3/4mm at the 12th fret. Some classical players like it even higher, however many like it lower too, and for them flamenco guitars are particularly comfortable. Sometimes, a player crosses over to the classical guitar, after initially learning to play electric or steel string, and they are horrified to discover the high action on classical guitars. For them, flamenco guitars should be considered too.

Flamenco players are seeking a different sound and have different priorities to classical players. Having said that, that doesn’t mean a flamenco guitar won’t be suitable for classical music. Flamenco right hand technique is so different - for one they play a lot closer to the bridge - that if a flamenco player were to play on a guitar, and then a classical player on the same guitar, it would be as if they were playing on two different instruments.


Flamenco guitars have a golpeador, a thin plastic sheet glued to the soundboard, allowing the player to strike the soundboard as he plays, a traditional flamenco technique. The golpeador doesn’t affect the sound, and may come as a relief to classical players who have struggled with dings on a french polished soundboard. I also think that in general flamenco guitarists have a different attitude regarding the finish of guitars; in the classical world, French polish is king, whereas in the flamenco world, generally lacquer is equally accepted. Usually on my instruments, I French polish and lacquer the back and sides. I’ve seen many classical concert guitarists use soundboard protectors that are basically the same as a golpeador, in order to protect the soundboard from general wear and tear.

My Flamenco Experience

The first flamenco guitar I built was almost by accident. I was building a batch of guitars, based on different plans in a guitar making book called “Making Master Guitars” by Roy Courtnall. One of those plans happened to be of a Santos Hernandez guitar, with cypress back and sides. It turned out extremely well - even though at that time I knew almost nothing of flamenco music - so well that I continue to develop my guitars, inspired by that initial plan.

My first actual flamenco experience came on a trip to a tonewood supplier in Valencia, where I saw a flamenco show. It was a great experience, with an incredible dancer and singers. It also turned out that the tonewood supplier loved flamenco music and recommended me the best guitarists to check out.

I started listening to more flamenco music. Flamenco music is Spanish folk music, the lyrics usually about love and usually the singers and dancers take centre stage rather than the guitar. I would build a flamenco guitar from time to time. When showing guitarists my work, I found it interesting that classical guitarists also found these flamenco guitars suitable, and have sold a number of flamenco guitars to classical guitarists who want another guitar with a different flavour. 

There was a flamenco guitar I built during lockdown; I was delighted with it and I gave it to several players to try. Due to covid fears, I would drop the guitar off, leave the guitar for a week or so, then pick it back up. It was a fantastic way to get feedback as it gave the players time to really get to know the instrument. The most useful feedback came from a brilliant flamenco player called Tomas Jimenez. He had the guitar for a week or so, and brilliantly he also had three Gerundino guitars - a famous flamenco luthier - so had the best possible point of comparison. In the end I sold that guitar to a player in San Francisco. 

Most recently, I built a flamenco guitar for the Antonio Marin Montero Competition in Granada in the summer of 2023. Rather than the usual cypress, I used flamed maple for the back and sides. I also used the highly decorative wood snakewood in this instrument. I had been given some tonewood from a retiring luthier that had been in his workshop for about 20 years. He himself had gotten the flamed maple from a retiring cello maker, so I really wanted to make a special instrument with it. 

With this foundation I’m looking forward to building many more flamenco guitars of the highest quality. See below for a useful video on this topic from Madera Guitars, a guitar dealer.

Humidity, humidity, humidity

This topic is close to my heart and is low-key a huge part of my life. I obsess about humidity, in a good way. I’m not sure when this started, perhaps when making my first guitars, but at some point in my guitar making journey, the importance of humility control was drilled into me. Humidity regarding woodwork is an interesting and nuanced topic. Being well informed about humidity means you understand and respect your guitar better, and this knowledge really makes guitars and even other wooden things, seem more alive. I will write about humidity in general first, then my advice to guitarists, and finally about my own humidity journey.

Wood and humidity:

Wood adjusts/expands/contracts to the relative humidity (RH). There is another measurement of humidity called ‘absolute humidity’, however this isn’t relevant to woodwork.The RH is the amount of water in the air, relative to the air temperature’s ability to hold water. Guitar makers usually build around 45-50% RH, so there’s leeway for the wood to expand and shrink in wetter or dryer environments. If a guitar was made a 90% RH and travelled to a drier environment, the wood would shrink so much that it would crack, and the opposite situation would cause problems too. 

Different species of wood move in different ways. For example, Indian Rosewood is particularly stable. I’ve noticed maple tends to expand and contract quite a lot, though without cracking. Brazilian rosewood has a reputation for cracking a lot (ie, see an earlier post with pictures of a 100 year old Arias guitar of brazilian rosewood). There is a wood called Cocobolo that I was advised by London Guitar Studio against using, as it’s gonna crack. Cedar tends to move less than spruce. The beautiful wood called snakewood moves unpredictably and cracks, so is usually reserved for small decorative functions such as the binding. Ebony has a reputation for shrinking forever, which can cause cracks along the side of the fretboard, so must be extensively dried before use.

Showing how different cuts of wood move in different ways.

Within these species, individual pieces of wood can have different levels of hygroscopicity. In a book for intermediate luthiers, Daniel Friedrich recommended testing soundboards for their levels of hygroscopicity, and using those examples less prone to absorbing water for the guitars destined for tropical places.

It is also important for guitar makers, and also players when buying a guitar, to consider the cut of the wood. If the wood is quarter-sawn, it expands and contracts in a more predictable way, and only half as much across its width, than plain-sawn/ flat-sawn wood (recognisable by more elaborate grain patterns).

Advice to guitarists regarding humidity:

It is important to take all these things into consideration as a guitar is made up of many individual small pieces of wood of many different species. The guitar is expanding and contracting, each species of wood at different rates, in the worst cases each piece perhaps pulling in different directions or twisting. This is why it is important to keep your guitar in a stable environment, keep an eye on the RH, and take the type of wood into consideration when you buy a guitar.

The first step is to buy a hydrometer so you at least know what the RH is. Then basic measures such as not storing your guitar near heaters, drafts can be taken. Keeping your guitar in its case is a good option as it’s easier to control the humidity in that small space. I do this, and I use D’addario’s Two Way Dehumidification kit or something similar, to keep the humidity in the case at 45%. If you have a room where you keep all your instruments, I’d recommend getting either a humidifier or dehumidifier depending on your situation. 

Many of the factors regarding humidity which make life easier or harder for you as a player, are actually in the control of the luthier. But by keeping the guitar in a stable environment and not exposing it to extremes, you will be limiting any problems and keeping your guitar happy.

Some cracks visible on this Brazilian Rosewood Vicente Arias guitar. If using a wood that may crack one day, it’s also worth bearing the finish in mind. For example, it may be better to French polish it, rather than using a conversion varnish which would result in an uglier repair.

My dehumidification journey:

I work in England. For most of the year the RH rises to about 90% at night and falls throughout the day to about 60% in the evening. I’ve been tracking the humidity religiously for about 7 years so don’t need to look those figures up. Therefore, in England, regarding humidity, unless you have your central heating on all the time, it’s usually a matter of dehumidification.

When I was studying guitar making, I was sixteen, and I rented a workshop, as my course was only two days a week (!) and I wanted to be working all the time. However, this workshop wasn’t the most suitable; a concrete floor, the thinnest brick wall and single glaze windows, and freezing cold in the winter. I bought an industrial dehumidifier; the thing was big and loud and due to the large size of the room and nature of the walls and windows, the effort was quite futile.

The next workshop when I was 22, was also quite unsuitable as far as humidity went. However, this time I built a cupboard, which was airtight. I put a small dehumidifier inside and stored everything in there when I wasn’t working on it. Not a perfect solution, but an improvement. 

For the next workshop, keen to have a handle on the humidity, I bought an expensive dehumidifier from the brand Maeco. I had it running all the time to get an RH of 45%. And I do the same thing in my current workshop. The dehumidifier is running literally all the time. It’s not loud but I must say there are times when I would prefer silence and the hum of the dehumidifier sounds like a roar. However, for the sake of my guitars, it’s a small sacrifice that I’m more than willing to make.


How I glue golpeadors onto flamenco guitars

This is quite a technical post. Recently, I showed another guitar maker one of my flamenco guitars, for feedback, and he asked me to write to him my method for gluing the golpeador. There are quite a few different methods.

A golpeador dries. In about 4 days this will be completely dry and transparent.

One method is to use a golpeador that you buy which is sticky on one side. I’ve always been too afraid to use this method as firstly they seem quite difficult to put on without leaving air bubbles. Secondly, once this kind of golpeaor is on, it’s really on and you can’t get them off again without damaging the french polish/lacquer below the golpeador. I’ve seen a few examples of golpeadors that have started to lift off, so they look untidy, and it would be better if they could be more easily replaced.

So the other option is to cut out your own golpeador from a sheet of suitable material, and glue it on. There are a variety of glues available which each have different advantages; epoxy, elmers, titebond. I’ve always used Elmers, as it is the most reversable option. When I needed to glue on my first golpeador, I did some looking around online and found the method with Elmers described by luthier Stephen Faulk, and discovered that luthier Lester Devoe uses the same method. The process below is that method but with more information based on my experience and various mistakes I’ve made.

I lightly sanded the underside of this golpeador and the surface of the finish below with 1200 (or 800 grit) to ensure a strong bond. However, for me this results in a slightly less transparent golpeador, and so I don’t tend to do it anymore.

There is also a choice to be made regarding the material used. I’ve used plastic sheets labelled as ‘acetate’ and also ‘PVC’. The usual thickness for a golpeador is between 0.010” and 0.015”. . I’ve used both and the former is on the verge of seeming too thin and that latter on the verge of seeming too thick. What is right depends on the flamenco player and I don’t think the thickness of the golpeador, within these bounds, affects the sound. Sometimes these plastic sheets are measured in microns; 0.010” is about 250 microns.

Another advantage to cutting out your own golpeador rather than buying one, is that you have more control over the shape. You can decide whether the golpeador goes over the rosette, partially covers it or not at all. Some flamenco players like the golpeador to extend further up towards the neck on the bass side. The golpe shape is very personal to the flamenco player.

Here are the notes I sent the luthier. For me, the method results in a crystal clear golpeador which can one day be replaced without damage to the finish below.


  • Cut out the desired golpe shape

  • Use 800 grade sandpaper on the edges to remove any burr along the edges.

  • It's not necessary to sand the underside of the golpe or to sand the finish under the golpe (if you do the resulting golpe is slightly less clear/transparent).

  • Get as much dust/lint off the gluing face of the golpe

  • Squirt on just enough elmers glue so that when the glue is spread the golpe will be covered (using too much is messier and the golpe is slower to dry)

  • Put the golpe in position and use something like a squeegee to push out all the air bubbles/lint and cleaning the excess as well as possible in the process. Whatever you use, ei. squeegee, be careful it doesn't scratch the golpe.

  • After about 30 mins/1 hour it's worth checking back and getting rid of any extra air bubbles.

  • For the first 12, perhaps 24 hours I periodically check along the edges in case a corner pulls up; within this time, the glue under the golpe should still be wet enough to squeegee into the lifted area. Doing that beyond the first 12 hours just causes problems as the glue has started drying. And it's not possible to push glue into a lifted corner from the outside, it just makes things worse.

  • It dries better the warmer it is.

  • Any remaining excess glue is best cleaning up when the golpe is dry. Elmers glue is easy to clean up with a damp cloth.

  • It should take about 4 days to completely dry. 

  • It's easy to get obsessed about a small pull up somewhere along the edge, air bubble or piece of lint. I sometimes have a small pull up somewhere.

  • If it needs to be redone/replaced, the golpe can be carefully peeled off and the elmers glue removed from the guitar with a damp cloth. Then I would wait until the next day to reapply to make sure any moisture is gone. I once became obsessed with getting it perfect and removed and reapplied a golpe about 4 times. The finish was lacquer; I haven't tried removing it yet from french polish, though I’d have no qualms doing so.

  • Another time it took over two weeks to dry. That was on french polish where I suspect some oil remained in the finish, and the temperature was about 18 degrees.

Thoughts on bracing, soundboard material, and letting the wood speak

When I was thirteen or fourteen and started developing an interest in guitar making, I was actually originally more interested in making electric guitars and basses. Basses fascinated me in particular, firstly because I played the bass really well, and secondly the unplugged tone of the bass was so beautiful to me, but what I really loved was how much the different woods seemed to affect the tone. I was however drawn away from that path, when I first glimpsed the inside of a classical guitar and beheld the mysterious bracing within. 

Regarding the classical guitar, it’s widely held that the soundboard along with its bracing is the most important part of the instrument. A famous guitar maker Torres once made a guitar with paper mache back and sides, perhaps to illustrate this point. Although the back and sides do have some effect on the sound, I would agree that the soundboard is where the magic happens, or in the case of overbuilt and underbuilt guitars, where it doesn’t.

From the beginning of my guitar making journey I experimented with different bracing patterns. I initially followed the guitar making book Making Master Guitars, in which there were a number of plans based on famous guitars, and for my first two guitars I followed a Romanillos plan. Then I built the next four guitars simultaneously, following the plans for a Bouchet guitar, a Fleta, a Santos Hernandez and a Torres. Such experimentation continued and although a case could be made for sticking to one plan in the beginning, I feel the variety has helped me understand the guitar as a whole. At this early stage, I carried out an interesting exercise, pushing the boundaries in terms of how thick or thin the plates of a guitar could be made.

I’ve read somewhere that it’s after 100 guitars, that a guitar maker starts to feel really in control. Based on my experience, I certainly think about things quite differently now than I did in the beginning. The biggest flaw in my thinking in the beginning was my lack of understanding of the wood itself. I sought to understand how the different bracing patterns and dimensions affect the final sound, without understanding that the properties of each brace - each piece of wood, every soundboard, even from the same tree, let alone species - can vary drastically. So now I work with a much greater respect and consideration towards the wood itself than before.

What did help me was a manual written by a guitar maker called Daniel Friedrich. This manual seemed intended for the intermediate guitar maker, and contained a series or tests that could be carried out during the production of a guitar, measuring the qualities, weights, and deflection strengths of each piece of wood. Some makers have been able to develop a sense for the qualities of wood, and carry out these tests by feel, with their hands. I believe I’ve read that Antonio Torres and Robert Bouchet were such makers, and probably many others. I have also been helped by the advice of various guitar makers. I was able to meet luthier Gernot Wagner once while at London Guitar Studio, where he explained his overall rationale regarding soundboards, and how his thoughts regarding reducing the weight of the soundboard led to him inventing the double top guitar. Throughout my building journey, I‘ve had the phrase, ‘Let the Wood Speak’ in my head, which is a saying from luthier Paul Fischer, and I last year had the opportunity to speak to him on the subject of bracing too. Recently, I was given two completed soundboards by luthier Rik Middleton to study, and build the rest of the guitar.

So far I have mostly worked with spruce soundboards, and some in western red cedar. There are so many bracing patterns in the guitar world and so many styles of construction, so many luthiers pushing to achieve the best sound, that it can be hard to choose a clear direction to go regarding sound. However, with my past experience and the advice of various master makers, as well as constant feedback from players and dealers, I feel confident about the future.

Sustainability and ethics in guitar making

I’ve been thinking about sustainability in guitar making recently because as I’m at the point in my career where the designs of my guitars are being honed closer to their final state, I’m therefore looking towards building faster, building these same designs again and again; that means buying more wood and on a more regular basis. Before I embark on this next stage, I need to get my ducks in a row regarding where to responsibly source wood, and figure out what my position on the matter of the environment is. It’s quite easy for a guitar maker to not think about these things, and particularly ordering wood online, it feels like it pops out of thin air and sometimes you don’t consider where it comes from. Often, tonewood suppliers don’t list where they have sourced the wood.

Fortunately, this year I read a fantastic book called ‘The Guitar: Tracing the Wood back to the Tree’ by Chris Gibson and Andrew Warren - a brilliant and easy read, I recommend it strongly. It went into particular detail regarding woods used for steel string guitars and by guitar factories.

One might argue that the impact a single guitar maker has in terms of trees cut down is negligible. However, the guitar is such an important, popular, cultural symbol worldwide, that guitar makers are in a position where they can call more attention to environmental problems, because so many people are interested in guitars. Furthermore, I think a buyer would definitely be disappointed if he/she discovered the materials used for his guitar were not sourced carefully and ethically, or if perhaps the guitar maker didn’t know where the materials came from. Wood is something special and precious, taken from a magnificent tree that perhaps took hundreds of years to grow, then transported thousands of miles; I feel if a maker can convey this to the buyer they will cherish their guitar all the more.

The standard woods used for the classical guitar today are Indian rosewood, maple, cypress spruce, western red cedar, Spanish cedar and ebony, as well as a variety of other tropical hardwoods for the backs and sides. Brazilian rosewood used to be the wood for back and sides, but as the forests in Brazil were decimated and all the old growth Brazilian rosewood is practically gone, its use was banned by an international organisation called CITES. Guitar makers now use Indian rosewood instead, which due to its felling and processing being carefully controlled by the Indian government, is more sustainable. Indian rosewood is grown in plantations and only a certain number of trees are allowed to be cut, processed and sold each year. 

Ebony, the jet black wood used for fingerboards, is an terribly endangered wood mainly grown in Cameroon in Africa. Also the situation around its felling seems so chaotic. It’s difficult wood to replace, but I have found one source which looks reliably sustainable, which is an ebony plantation founded by Bob Taylor of Taylor Guitars (Bob Taylor is a figure in the guitar industry who is particularly forward thinking regarding sustainability and tonewoods), and co owned by tonewood supplier Madinter. There is also a UK brand called Rocklite offering eco-friendly man made alternatives to ebony and rosewood, for things like bindings, fretboards and bridges.

Some UK luthiers also advocate the use of native tonewoods; such woods include maple, yew, walnut, poplar, beech, birch, eucalyptus and more. As many of these trees/timbers are not usually cut to guitar dimensions, and not on a large scale, it can be difficult to find these timbers to build with and when you find it, the wood available is often not up to guitar standard. However, I have seen some sets of native woods, particularly walnut, birch, apple, maple, that are truly stunning, and I would love to use them on a regular basis. Unfortunately, often when trees are felled in the UK, they are simply destroyed no matter how great their potential for musical instruments might be. There are some small companies who rescue such trees and turn them into usable wood. One excellent example is a business called Conway Tonewoods; the quality of the native woods there is sometimes stunning, showing that ‘built with local timber’ doesn’t necessarily mean 'built with lesser timber’. I hope such businesses spread and suitable native woods are used more often. Another similar option is to use reclaimed woods, for example wood taken from large old furniture.

English Yew Tree

Extremely usefully, a study has been carried out over the past 15 years, called the Leonardo Guitar Project; a study showing the suitability (or non-suitability) of different non-tropical woods for the different parts of the guitar. This study was carried out scientifically and many luthiers took part as well as two guitar making schools. The results serve as an excellent foundation for any guitar maker looking to move away from tropical woods, because that initial period of uncertainty and experimentation when using new woods, is already completed by this study. 

I have noticed that British guitar makers are quite forward thinking in their use of tonewoods. When Paul Fischer was at the start of his career, he got a Winston Churchill fellowship to travel to Brazil, to try to find alternatives to Brazilian Rosewood. Guitar maker Kevin Aram often uses native wood, and often fells the trees and has the wood processed himself. Gary Southwell often uses relatively recently discovered native timber called Bog Oak. One of my old teachers, Adrian Lucas, often uses reclaimed timber. So young guitar makers in the UK, like me, have excellent examples to follow, and I think this has also resulted in customers also being open to woods other than those considered traditional. It’s something I really like about the guitar, compared to for example the violin. There is room for change, and development and expression in the guitar world.

It’s difficult to form a definite conclusion to this blog post at this point, as the wood industry really seems so chaotic, and what I’d really like to do is visit some countries and their sawmills, and see the different situations in person. For now, when I do use tropical timbers, I will favour tonewood suppliers who are most transparent where it’s sourced, and will keep my eye out for native timbers of high quality too.

Thoughts on the different types of guitar finishes and how to care for them

I used a lacquer varnish, for my first 30 or so guitars, minus a couple here and there. I knew that French polish was considered the ‘gold standard’ in classical guitar making, but had become obsessed with mastering one finish before moving on to the next. However, I have recently started offering French polish and an oil finish on my guitars. All finishes has different advantages and disadvantages going for them, none are perfect but some can be more suitable for a particular person’s priorities.


Lacquer:

Lacquer can be buffed to a beautiful mirror gloss. (Writing this post has reminded me that for a while I have intended to read a book called Lacquer: An International History. I know that the earliest lacquerwork dates back to thousands of years ago in China and Japan.) For me, the advantage of lacquer is that once it’s finished and looking good, if a guitar is looked after, the lacquer should stay looking just as good many years down the line as it did on day one, with minimal fuss for the owner.

It is easy to care for; a wipe down with a slightly damp paper towel or cloth should be enough. The lacquer I use is really hard wearing, and a player won’t have to worry about using a cloth between their body and the guitar or anything like that.

I think it’s commonly known that French polish takes a long time and is hard to learn; that’s true but off the back of that comes the implication/assumption that a lacquer finish is easy. It’s not! Both are a tricky skills to learn and take time to execute, also both are easy in a way once the skill is truly learnt.

The disadvantages of lacquer: for the builder, getting the finish thin enough takes some time to learn, and it will never be quite as thin as French polish or oil; players often feel that a thick finish on the soundboard will inhibit the vibrating of the soundboard. Lacquer is also difficult to repair invisibly without a complete refinish of that particular surface.

I apply lacquer with a brush. After it’s dry I level with fine sandpaper. Then I buff by hand. Overall the process is quicker than French polish, but those last two steps take a good couple of long days and the buffing in particular is SO EXHAUSTING. In this way, there is definitely room for my lacquer process to be refined.


French Polish:

French polish is a method of applying a material called shellac. Shellac is dissolved in alcohol and then applied with a “rubber”, then the alcohol evaporates and you’re left with a very thin layer of shellac. It’s a very organic process. I have recently completed two French polished guitars and am feeling the French polishing vibe. I like the particular gloss I have gotten, it has a slightly softer more natural look to it than lacquer. It does look slightly more beautiful than lacquer, however as I mentioned there are downsides to be considered with any finish. For some people it might not be entirely practical, as a lacquer or oil finish would be.

The particular French polishing process I use is spread out over a month (there are many different methods), working an hour here and there sometimes in the morning or evening. So guitars can be built while another is being polished. It’s quite chill, especially when I think of the hectic couple of days at the end of my lacquer process.

I can speak less about the potential issues which might occur as I have more experience with lacquer and oil right now, however following general guitar care guidelines, as well as keeping and cloth between your right arm and the guitar, and occasionally wiping the guitar with a slightly damp paper towel/cloth; do all that and I don’t see there being any big issues.

For players who live in countries with really high humidity or who travel/tour around, a French polished instrument might just be too delicate.

Many luthiers offer a finish touchup after 6 months to a year on a new guitar. This is because the shellac will shrink considerably in the first year, however after it has done so this provides a good base for a touch up. French polish continues to develop and harden over the years.


Oil Finish

I’ve often thought that when I finally get round to building myself an instrument, I will finish it with a couple of coats of oil. Minimum fuss for the maker and the player, nothing to get in the way of the tone. There is never any danger of an oil finish cracking or blistering, as is possible with lacquer or French polish in certain conditions

I still prepare the wood the same way as I would for French polishing or lacquer. This means the grain of the wood is filled on open grained woods, and the end result is a smooth satin finish. I also seal the wood slightly to prevent the oil penetrating into the wood too deeply, minimizing any problems with oily rosewoods, and stopping an excess of oil of dampening the tone of the soundboard.

Again simply follow general guitar care guidelines should keep the guitar in ship shape. With an oil finish a guitarist may wish to keep a cloth between his right arm and the guitar to prevent it getting grubby.

Sometimes despite taking the greatest care a guitar will get dinged or scratched; one thing I like about oil finishes is that a scratches/dings don’t stand out so much on a surface which isn’t so glossy. I think that anything which harms an oil finished surface, would have done more noticeable damage to French polish; as far as durability goes lacquer is the winner. As well as lacquer, I think oil finishes would also be suitable for guitarists in high humidity countries where French polish can be problematic.

I will update this with some guidelines on general maintenance of an oil finish. I feel like an oiling once a year would help, and occasional wiping down with a slightly damp cloth. For cleaning serious grime, I will have to learn/come up with a method and update shortly.